Lighting a good fire first time, every time is a simple process yet one of the more satisfying daily tasks if achieved. However, it is a task that people sometimes struggle with and can lead to a great deal of frustration.
In extreme circumstances I have heard of people who, having installed a brand new stove, have got so frustrated with not being able to get it lit that they have written it off as useless and never used it! At the other extreme are people who take a great deal of pride in being able to get their fire lit with a single match and a twist of newspaper.
Here I will cover what I have found to be the simplest and most reliable way to get your fire burning well.
I will start off with the most important point, which is having a good fuel. If you are trying to get a fire going with wet wood then you are destined to a very long struggle!
The second thing a fire needs is a good airflow. In open fires there is little control here but with stoves there are generally two controls. Follow the manufacturers guidelines here, but usually you want both vents open to start the fire, using one as a "choke" which you close as soon as you have heat in the body of the stove, and the second one to control the rate of burn once the fire is established. (With a good stove you should not need to leave the door open to get the required airflow but if you are really struggling to get your stove to burn well then it could be a problem with the draft from the chimney.)
Finally, you need an ignition source. I have found our Waxling firelighters to be the best firelighters out there, and we are yet to find anyone who having tried them has gone back to standard firelighters.
With these 3 things in place I will leave the rest of the process to the pictures below and wish you many happy years of trouble free firestarting…

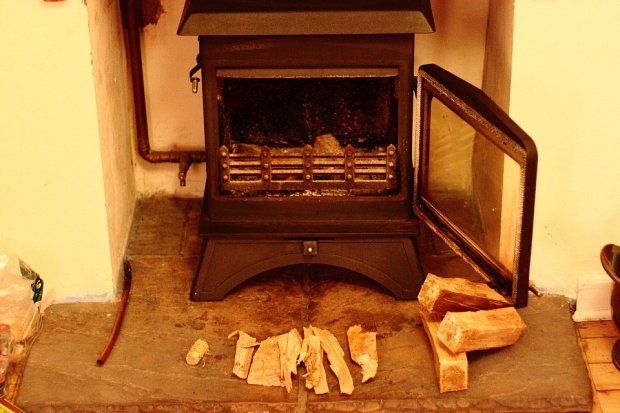
All the ingredients of a successful fire. A single Waxling firelighter, a handful of our hardwood kindling and some of the smaller logs from your log store
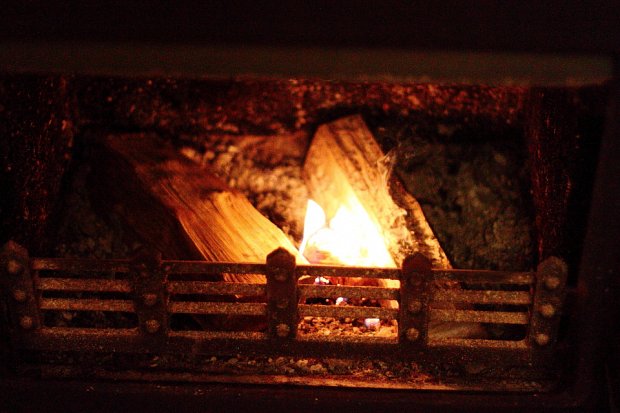
I rake the ash so as to provide a firm base which the firelighter won't sink into and get smothered. Place 2 logs in parallel with a small gap between them where you place your lit firelighter
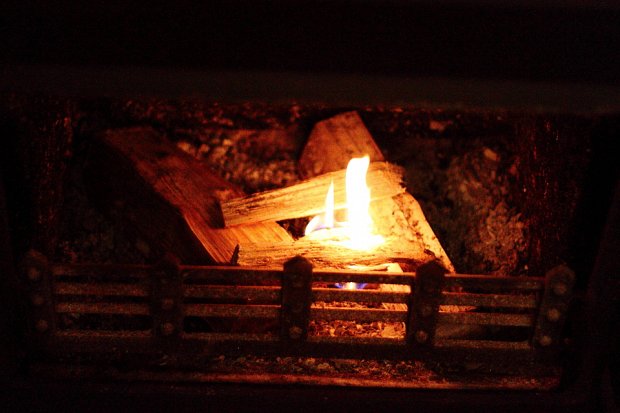
Lay small bits of kindling between the two logs, leaving gaps big enough to allow the flames to get through
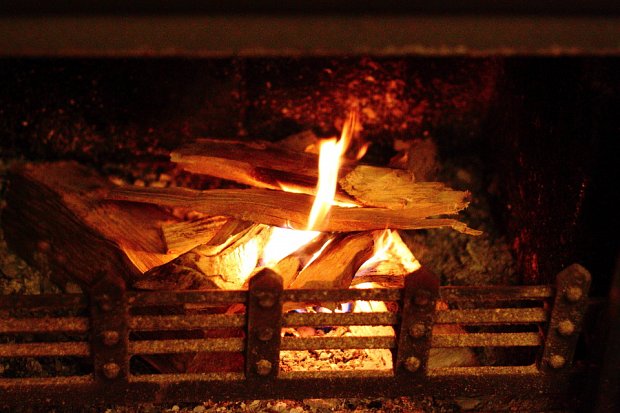
Build layers of kindling in a crisscrossed pattern, increasing the size of the bits with each layer. Again, make sure the flames can get through your stack
Next add some small logs in a way that ensures they do not collapse the pile of kindling, smothering your fire
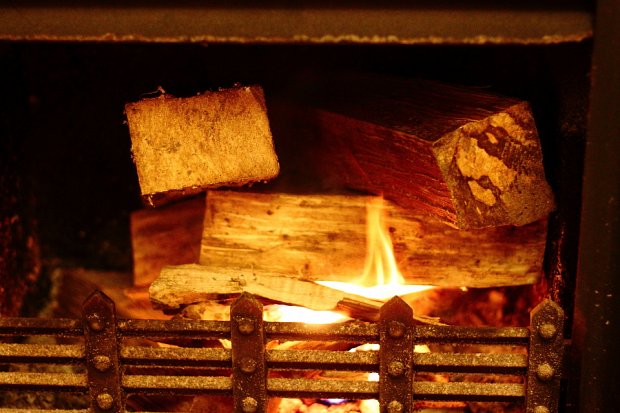
As the logs start to char your fire is getting well established and you can probably shut the first of your air vents. Getting to this stage should only take 15-20 minutes
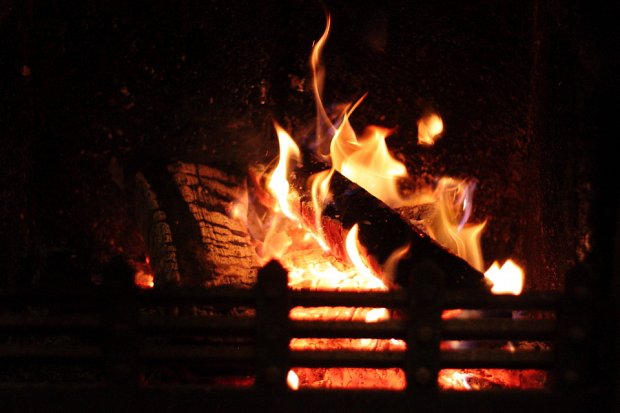
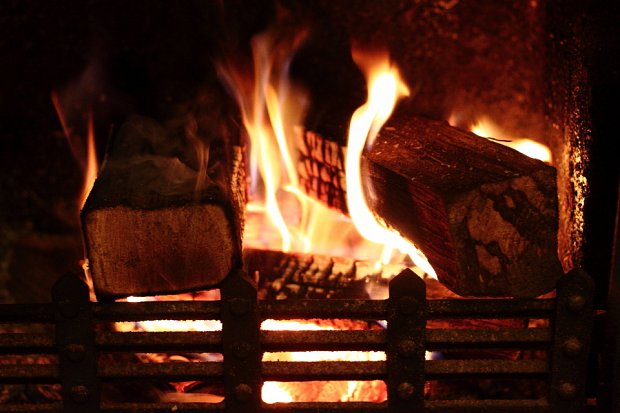
As the logs burn down you will be left with a good bed of embers. As the flames reduce add further logs and enjoy your fire